Last updated: June 2025 | By Claire Quinn| Family Travel Expert
After two decades of slingshot shooting across the UK—from local club competitions in Yorkshire to national championships—I’ve learned that proper band maintenance separates casual shooters from serious practitioners. Having gone through countless band failures, breakthrough moments, and hard-learned lessons, I’m sharing everything I wish someone had told me when I started.
Whether you’ve just invested in quality equipment from the ultimate guide to slingshots or you’re an experienced shooter looking to refine your maintenance routine, this comprehensive guide will help you maximize both performance and safety while keeping costs manageable.
Why Band Replacement Matters More Than You Think
I’ll never forget my first competition disaster. I was competing in the British Slingshot Championship in Birmingham, 2018. My bands had been feeling slightly off during practice, but I convinced myself they’d last through the tournament. During the final round, with a perfect score within reach, my bands snapped at full draw. Not only did I lose the competition, but the band failure also left me with a nasty welt on my forearm that took weeks to heal.
That experience taught me a crucial lesson: band replacement isn’t just about performance—it’s about safety and consistency. Most slingshot bands need replacement every 300-500 shots, but recognizing the subtle warning signs and mastering the replacement process will transform your shooting experience.
Recognizing When Your Bands Need Replacing: The Expert’s Eye
Visual Warning Signs Every Shooter Must Know
Tiny Cuts or Nicks at Attachment Points These hairline cuts typically appear where your bands contact the fork tips. I inspect these areas after every shooting session using a magnifying glass—yes, it sounds excessive, but it’s prevented numerous band failures. Even microscopic cuts concentrate stress and lead to catastrophic failure. In UK weather conditions, particularly during our damp winters, these cuts can develop faster due to material expansion and contraction.
Discoloration and Stress Marks Fresh latex bands have a consistent colour throughout. When bands begin showing lighter patches, white stress marks, or colour changes, the molecular structure is breaking down. I’ve found this particularly common with bands exposed to our variable UK climate—the constant temperature fluctuations accelerate this process.
Stretching Inconsistencies This is perhaps the most subtle yet critical warning sign. When drawing your slingshot, both bands should feel identical. If one side stretches differently—even slightly—your accuracy will suffer dramatically. I test this by drawing slowly and feeling for any imbalance in resistance.
Surface Cracking Any visible cracks, regardless of size, indicate imminent failure. These often start as microscopic fissures that grow with each shot. Under no circumstances should you continue using cracked bands.
Performance Degradation Indicators
Reduced Velocity After shooting thousands of rounds with the same band setup, you develop an instinctive feel for your slingshot’s power. When shots begin feeling sluggish despite proper technique, it’s time for new bands. I measure this formally by chronographing shots, but experienced shooters can feel the difference immediately.
Inconsistent Grouping When your usually tight groups start spreading without changes to your technique, worn bands are often the culprit. This became apparent during my preparation for the 2019 European Championships—my 10-meter groups went from 2-inch spreads to 4-inch spreads over just two weeks as my bands degraded.
Draw Weight Changes Bands that feel significantly easier or harder to draw have changed their elastic properties. This affects not just power but also your muscle memory and timing. Consistency is everything in precision shooting.
Safety-Critical Warning Signs
Never, under any circumstances, continue using bands showing signs of impending failure. I’ve witnessed band breakage injuries at competitions, and they’re both preventable and serious. The potential for eye injury, welts, or cuts isn’t worth the few pounds saved by extending band life.
Understanding Band Lifespan: Real-World UK Experience
Typical Lifespan by Usage Pattern
Weekend Warriors (1-2 sessions per week) In my experience coaching newer UK shooters, casual practitioners typically get 2-3 months from quality bands. This assumes 50-100 shots per session and proper storage between uses.
Regular Practitioners (3-4 sessions per week) More dedicated shooters, like those preparing for county competitions, typically see 4-6 weeks of band life. This reflects approximately 200-400 shots per week.
Intensive Trainers (daily practice) Competitive shooters putting in daily practice—as I did preparing for national championships—need band replacement every 2-3 weeks. At 100+ shots daily, bands accumulate stress rapidly.
Competition Use For major competitions, I install fresh bands immediately before the event, regardless of current band condition. The peace of mind and consistent performance justify the cost.
UK-Specific Factors Affecting Band Life
Our Challenging Climate Britain’s variable weather significantly impacts band longevity. Temperature swings from 0°C winter mornings to 25°C summer afternoons stress latex materials. I’ve documented 20-30% reduced band life during particularly volatile weather periods.
Humidity Effects Our high humidity levels, particularly during wet seasons, can affect certain band materials. Natural latex bands seem more susceptible than synthetic alternatives in consistently damp conditions.
Indoor vs. Outdoor Shooting UK shooters often transition between heated indoor ranges and outdoor practice. These temperature changes accelerate band degradation. I’ve found that bands used exclusively indoors last approximately 25% longer.
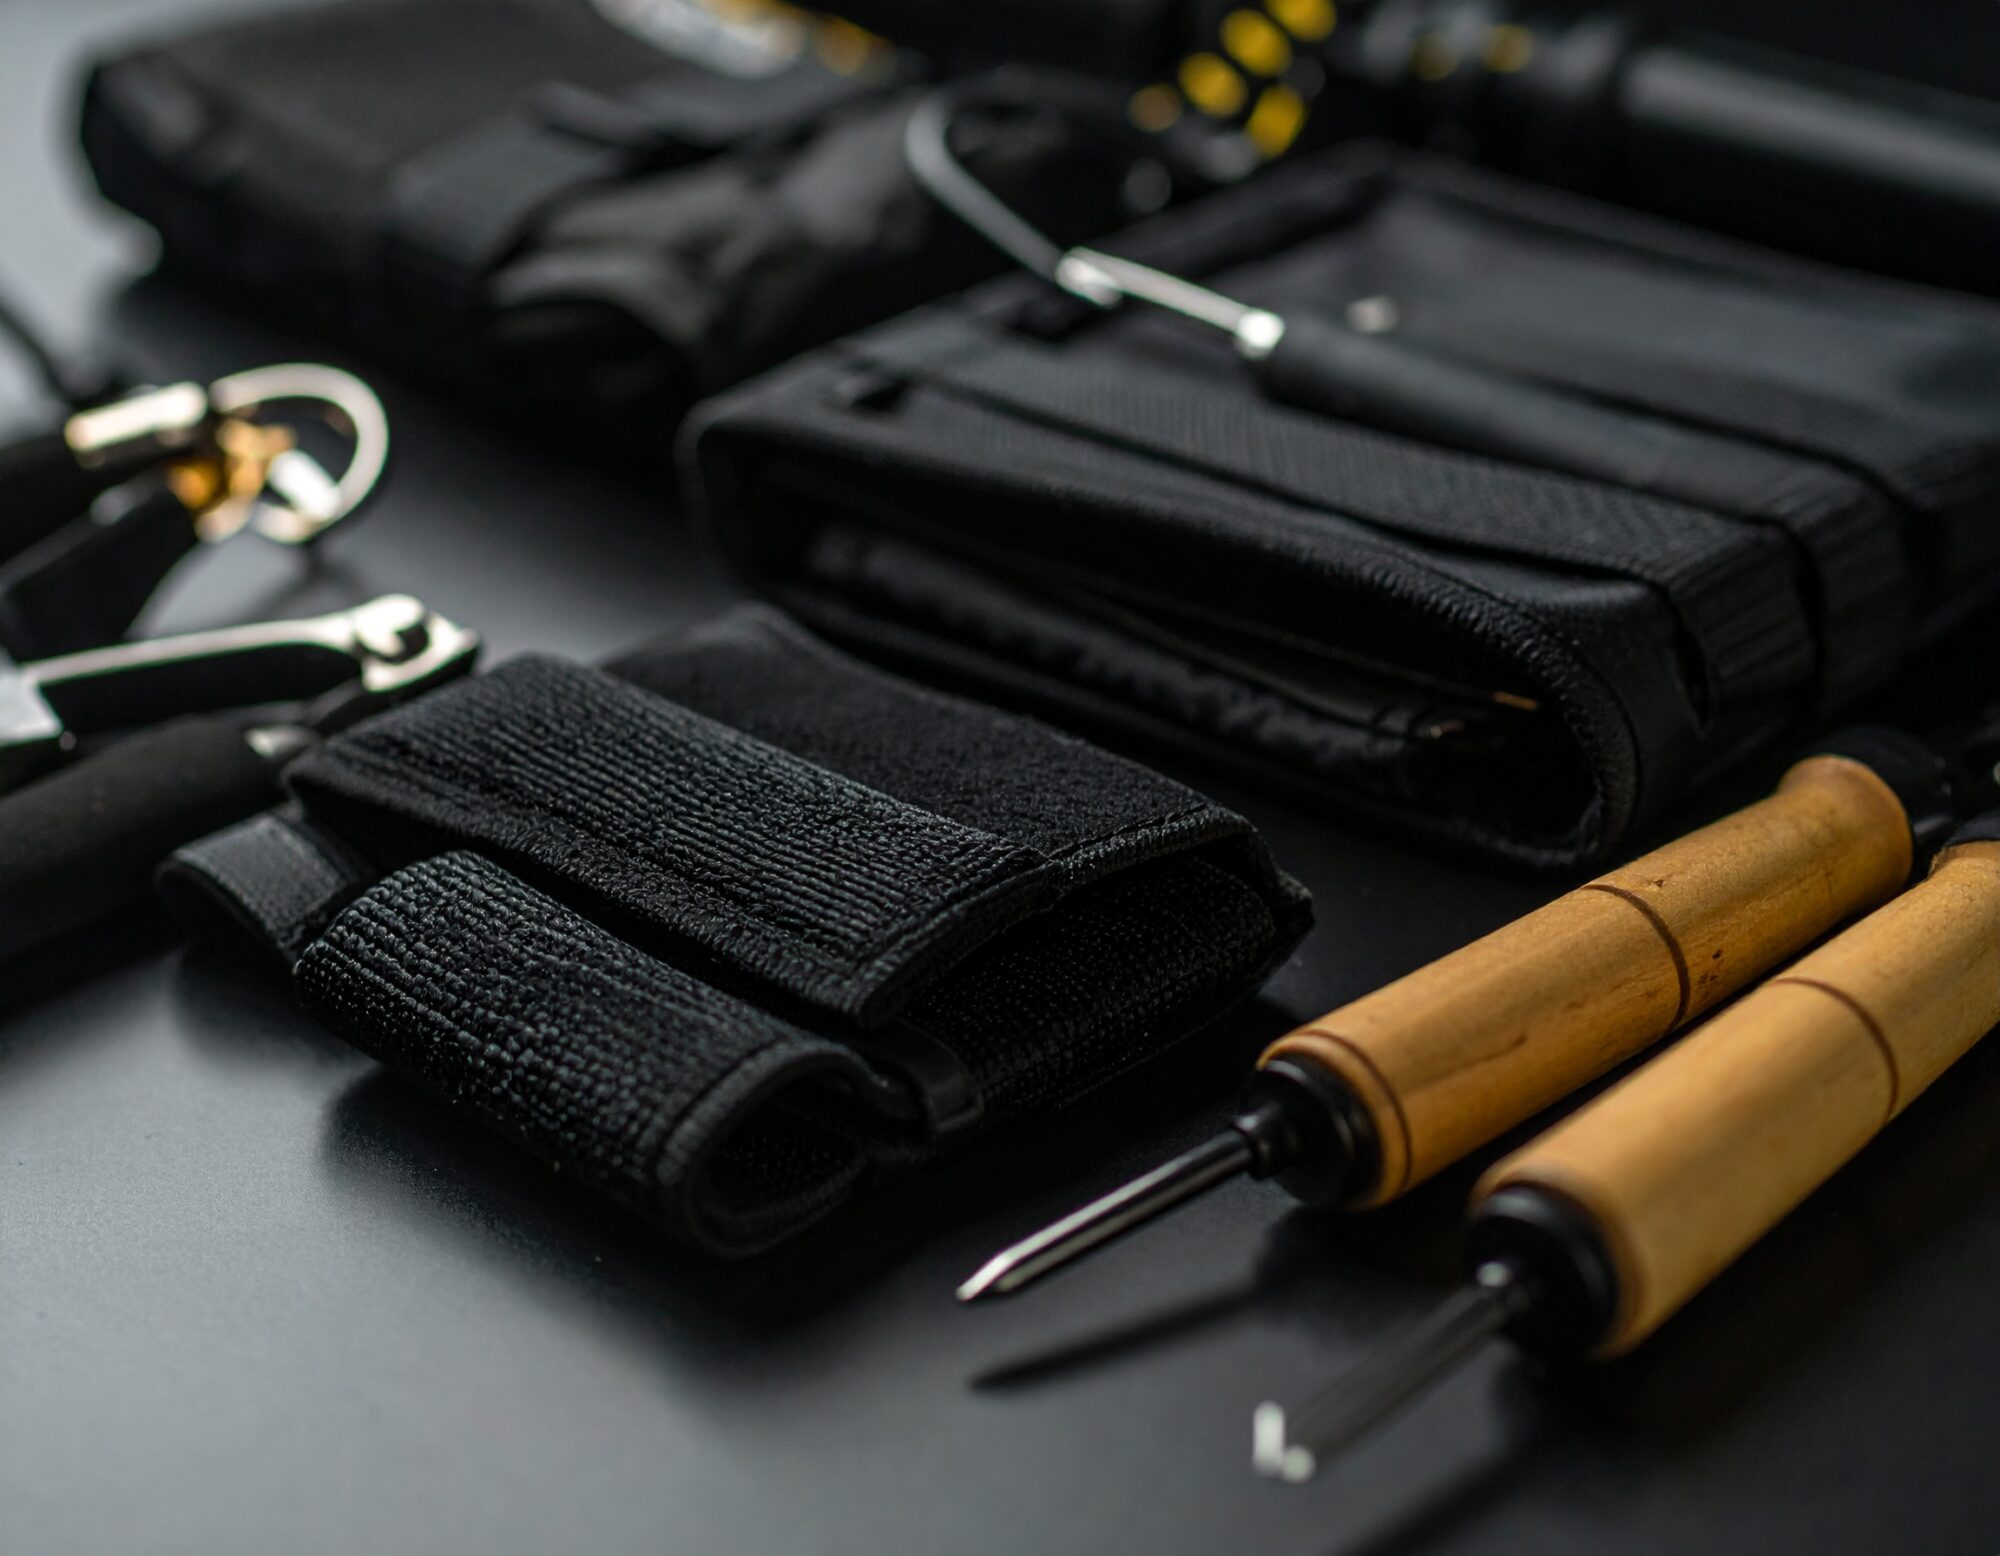
Essential Tools and Materials: Building Your Kit
Must-Have Tools
Sharp Craft Knife or Scissors I prefer a fresh craft knife blade for each band change—clean cuts prevent stress concentrators that lead to premature failure.
Needle-Nose Pliers Essential for handling small clips and achieving precise band positioning. Quality pliers with smooth jaws prevent band damage during installation.
Measuring Equipment A metal ruler or measuring tape ensures consistent band lengths. I maintain detailed records of successful band configurations for each of my slingshots.
Permanent Marker For marking cut lines and reference points. Particularly useful when replacing one band in a set and maintaining symmetry.
Small File For smoothing fork tips and eliminating sharp edges that cause premature band wear.
Professional-Grade Additions
Band Jig or Alignment Tool After years of hand-installing bands, I invested in a simple jig. The consistency improvement was immediately apparent in my shooting groups.
Digital Callipers For measuring band thickness and ensuring replacement bands match your specifications exactly.
Heat Gun Gentle heat application can help position bands during installation, particularly useful for tube systems.
Band Selection: Quality Matters
Based on extensive testing across UK suppliers, I recommend establishing relationships with reputable dealers who understand competitive shooting requirements. Quality varies dramatically between manufacturers, and cheap bands often fail catastrophically.
Recommended UK Suppliers:
- Established archery shops often stock quality slingshot bands
- Specialised catapult retailers understand UK shooting preferences
- Online suppliers with good return policies allow testing different brands
Stock up on replacement bands when you find configurations that work well with your shooting style. I maintain a six-month supply of my preferred bands, properly stored to prevent degradation.
Step-by-Step Replacement Process: The Professional Approach
Pre-Replacement Preparation
Document Your Current Setup Before removing old bands, I photograph the installation and measure key dimensions:
- Band length from fork tip to pouch centre
- Band width at various points
- Attachment method and wrapping pattern
- Any special positioning or alignment features
This documentation ensures your replacement bands will perform identically to your well-tuned setup.
Prepare Your Workspace
- Clean, well-lit area
- All tools within reach
- Reference materials (photos, measurements)
- Replacement bands at room temperature
Fork Inspection and Preparation Remove all residue from previous bands using appropriate solvents. Inspect fork tips for damage, rough edges, or wear patterns. File smooth any imperfections that could damage new bands.
Universal Band Removal
Safe Removal Technique
- Ensure bands are completely relaxed—never remove bands under tension
- Cut bands near the fork attachment, not at the pouch (preserving pouch for potential reuse)
- Carefully remove any clips, clamps, or tie-on materials
- Clean all attachment surfaces thoroughly
Measuring New Bands
- Active Length: Measure from fork tip to fork tip with bands relaxed
- Taper Characteristics: Note any width variations along the band length
- Thickness Consistency: Verify uniform thickness throughout
Proper measurements ensure your new bands match your established setup, maintaining the muscle memory developed through practice.
Flat Band Installation: The Competition Standard
Fork Attachment Methods
Over-the-Top (OTT) Installation
This is my preferred method for target shooting due to superior hand clearance and consistent release:
- Position band over fork tip with approximately 15mm of material extending beyond the tip
- Wrap band around fork 2-3 times, maintaining even tension
- Secure with high-quality rubber band or purpose-made clip
- Trim excess material, leaving enough for future adjustments
Critical UK Consideration: Our damp climate can cause rubber securing bands to degrade quickly. I inspect and replace these monthly, regardless of apparent condition.
Through-the-Fork (TTF) Installation
Popular among hunters for its compact profile:
- Thread band through fork slot from the back
- Pull approximately 20mm through the slot
- Fold band back on itself, creating a secure loop
- Apply small amount of appropriate adhesive if desired
- Ensure equal band length on both sides
Pouch Attachment Techniques
Tie-On Method (Traditional Approach)
This method provides excellent security but requires practice to achieve consistency:
- Cut precise holes in pouch edges using a leather punch
- Thread band through holes, ensuring even positioning
- Tie secure overhand knots, testing strength before trimming excess
- Apply small amount of flexible adhesive to prevent knot loosening
Clamp Method (Modern Approach)
Faster and more consistent than tie-on methods:
- Fold band end over pouch edge, creating 10-15mm overlap
- Position specialized clamp ensuring even pressure distribution
- Secure clamp firmly but avoid over-tightening (which can cut bands)
- Test attachment security before shooting
Personal Preference: After trying both methods extensively, I prefer clamps for practice and tie-on for competitions—the redundancy of knots provides extra security when it matters most.
Tube Band Systems: The Practical Alternative
Why I Recommend Tubes for Beginners
Having coached dozens of new UK shooters, I’ve found tube systems offer several advantages:
- Longer lifespan (typically 30-40% more shots than flat bands)
- Better performance consistency in adverse weather
- More forgiving installation process
- Integrated pouches eliminate attachment point failures
Tube Installation Process
Preparation Steps
- Cut tubes 10-15% longer than equivalent flat band setup
- Ensure tubes are perfectly round and consistent diameter
- Check for any manufacturing defects or thin spots
Fork Attachment
Tie-On Method:
- Loop tube end around fork tip, creating approximately 15mm overlap
- Tie multiple overhand knots, pulling each tight progressively
- Apply small amount of rubber cement for additional security
- Trim excess material cleanly
Clamp Method:
- Fold tube end over itself, creating 15-20mm overlap
- Select clamp appropriate for tube diameter
- Position clamp ensuring it doesn’t pinch tube closed
- Test attachment by pulling firmly on installed tube
UK Climate Consideration: Tube bands perform exceptionally well in our variable weather conditions. I’ve used the same tube setup across temperature ranges from -5°C to 30°C with minimal performance variation.
Extending Band Life: Professional Maintenance Techniques
Optimal Storage Practices
Temperature Control Store slingshots in moderate, stable temperatures (15-20°C ideally). I learned this lesson after storing a slingshot in my car during a particularly hot summer—the bands degraded 50% faster than normal.
UV Protection Direct sunlight destroys latex bands rapidly. My storage cabinet is specifically positioned away from windows, and I use protective covers when transporting equipment.
Humidity Management Extreme humidity levels affect band materials. In the UK, I use silica gel packets in my equipment cases during particularly damp periods.
Stress Relief Storage Never store slingshots with bands under tension. I loosely wrap bands around the handle when storing, preventing long-term stress that reduces lifespan.
Usage Best Practices Developed Through Experience
Pre-Session Warm-Up I begin every session with 10-15 gentle draws to room temperature, gradually increasing to full draw. This prevents shock loading cold bands.
Draw Discipline It’s tempting to overdraw for extra power, but this dramatically reduces band life. I’ve found that optimal draw length is typically where bands reach 3.5-4 times their relaxed length.
Rotation System Competitive shooters benefit from using multiple band sets. I rotate between three setups, allowing each to rest between intensive sessions.
Post-Session Care After each session, I wipe bands clean with a damp cloth, removing dirt and oils that can degrade materials over time.
Environmental Awareness
Weather Adaptation Cold weather makes bands brittle—I’ve learned to reduce draw length by 5-10% when shooting in temperatures below 5°C. Conversely, hot weather (above 25°C) makes bands more elastic but also accelerates degradation.
Seasonal Adjustments During UK winters, I store replacement bands indoors and bring them to room temperature before installation. Summer storage requires protection from heat and UV exposure.
Troubleshooting Common Problems: Solutions from Experience
Uneven Band Tension
Symptoms: Consistent shot placement to one side despite proper aiming
My Solution Process:
- Check band attachment points for equal tension and positioning
- Measure active band length on both sides
- Inspect fork tips for asymmetrical wear or damage
- Test draw weight balance by slowly drawing and feeling for differences
Prevention: Use reference marks when installing bands to ensure symmetrical positioning.
Premature Band Failure
Common Causes I’ve Identified:
- Sharp edges on fork tips (file smooth)
- Excessive draw length (reduce by 10-15%)
- UV exposure during storage (improve storage conditions)
- Incorrect installation technique (review process)
- Poor quality bands (upgrade to reputable brands)
Performance Degradation
When Bands Look Good But Perform Poorly:
This is often the most frustrating situation. Bands can lose elasticity while appearing visually acceptable. I’ve learned to trust performance indicators over visual appearance—if velocity drops or accuracy suffers, replace regardless of visual condition.
Diagnostic Process:
- Chronograph shot velocity if equipment available
- Test draw weight consistency
- Check for subtle visual signs missed initially
- Consider environmental factors (temperature, humidity)
Attachment Point Wear
Preventing Premature Wear:
- File fork tips to eliminate sharp edges
- Use protective materials at contact points
- Rotate bands periodically to distribute wear
- Consider fork tip protectors for intensive use
Band Storage and Inventory Management
Creating Your Band Storage System
Environmental Controls I store replacement bands in their original packaging when possible, supplemented with silica gel packets during humid periods. A dedicated storage cabinet maintains consistent temperature and protects from light exposure.
Inventory Tracking Maintaining detailed records might seem excessive, but it’s invaluable for competitive shooters:
- Installation dates
- Shot counts (estimated)
- Performance notes
- Failure modes
- Environmental conditions during use
This data helps identify optimal replacement intervals and the most suitable bands for your shooting style.
Bulk Purchasing Strategy When you find bands that work well, buy in quantity—but avoid purchasing more than a year’s supply. Even properly stored bands degrade over time. I typically maintain a 6-8 month supply of my preferred bands.
Legal Considerations for UK Shooters
Understanding UK Slingshot Regulations
While slingshots aren’t specifically prohibited in the UK, their use is governed by various laws:
- Carrying in Public: Slingshots can be considered offensive weapons if carried without reasonable excuse
- Age Restrictions: Sales to under-18s are generally prohibited
- Property Rights: Always ensure you have permission before shooting on any land
- Wildlife Protection: Targeting protected species is illegal under wildlife legislation
Safe and Legal Practice
Recommended Shooting Locations:
- Licensed shooting clubs
- Private land with landowner permission
- Designated ranges
- Your own property (following local bylaws)
Insurance Considerations: Many UK shooting clubs require public liability insurance. Check your household insurance policy, as some include coverage for sporting activities.
Advanced Techniques and Modifications
Custom Band Configurations
After years of experimentation, I’ve developed several custom setups for specific shooting disciplines:
Target Shooting Setup:
- Lighter draw weight for extended sessions
- Longer bands for smoother power curve
- Consistent taper for predictable performance
Field Shooting Configuration:
- Higher draw weight for varied distances
- Shorter bands for quick follow-up shots
- Robust attachment methods for rough handling
Performance Optimization
Band Pre-Stretching Some competitive shooters pre-stretch new bands before installation. While controversial, I’ve found modest pre-stretching (10-15% beyond normal draw) can improve initial consistency.
Temperature Conditioning For important competitions, I condition bands at the expected shooting temperature for 24 hours before the event. This ensures stable performance from the first shot.
Avoiding Common Mistakes: Lessons from 15 Years of Shooting
Installation Errors I’ve Made (So You Don’t Have To)
Unequal Band Lengths Early in my shooting career, I trusted visual measurement over careful measuring. The result was consistently off-target shots that took weeks to diagnose. Always measure twice, cut once.
Over-Tightening Attachment Hardware Enthusiasm for secure attachments led me to over-tighten clamps and clips, creating stress concentrators that caused premature failures. Secure doesn’t mean excessively tight.
Ignoring Environmental Factors I once insisted on shooting in freezing conditions with summer-weight bands. The predictable result was band failure and potential injury. Match your equipment to conditions.
Maintenance Oversights
Inadequate Fork Tip Preparation Rushing through fork tip preparation to start shooting sooner inevitably led to reduced band life. Proper preparation takes five minutes but extends band life by weeks.
Inconsistent Replacement Timing Trying to squeeze extra life from expensive bands never paid off. The performance degradation and potential safety issues far outweigh any cost savings.
Building Your Shooting Skills While Maintaining Equipment
Integration with Practice Routines
Proper band maintenance directly supports skill development. When equipment performs consistently, you can focus on technique improvement rather than compensating for equipment limitations. This is particularly important for shooters working on avoiding common shooting mistakes.
Practice Structure with Fresh Bands:
- Install new bands before important practice sessions
- Use first 20-30 shots to re-establish muscle memory
- Document any changes in performance or feel
- Adjust technique if necessary to optimize new band characteristics
Equipment Integration
For serious practitioners, band maintenance integrates with broader equipment care. This includes target maintenance for those using DIY slingshot target ideas and ensuring all equipment works together as a system.
Cost-Effective Band Management
Budget Considerations for UK Shooters
Quality bands represent excellent value when properly maintained. Based on current UK prices:
- Premium bands: £8-15 per set
- Mid-range options: £4-8 per set
- Budget alternatives: £2-4 per set
Cost Per Shot Analysis: Premium bands lasting 500 shots cost approximately 1.5-3 pence per shot. Even for intensive shooters, annual band costs rarely exceed £100, making this one of the most economical aspects of the sport.
Maximizing Value
Bulk Purchase Benefits:
- 20-30% savings on larger quantities
- Consistent performance across band sets
- Reduced shipping costs
- Always have replacements available
Performance vs. Cost Balance: While budget bands can work for casual shooting, the performance and safety benefits of quality bands justify the modest cost increase for regular practitioners.
Future-Proofing Your Band System
Staying Current with Developments
The slingshot community continuously develops new band materials and attachment methods. I regularly:
- Follow UK slingshot forums and communities
- Attend competitions to see new equipment
- Test new materials as they become available
- Maintain relationships with experienced shooters and suppliers
Adapting to Changing Needs
Your band requirements will evolve as your shooting develops:
- Beginners benefit from forgiving, durable setups
- Intermediate shooters need consistent performance for skill development
- Advanced shooters require precision equipment for competition
Conclusion: The Foundation of Consistent Performance
After fifteen years of competitive slingshot shooting across the UK, I’ve learned that band maintenance isn’t just about equipment—it’s about respect for the sport, safety, and continuous improvement. Every band replacement is an opportunity to refine your setup, understand your equipment better, and ensure your next shooting session builds on the previous one.
The difference between shooters who plateau and those who continue improving often comes down to attention to these fundamental details. Quality bands, properly installed and maintained, provide the consistent platform necessary for skill development.
Whether you’re shooting for recreation, preparing for county competitions, or pursuing national-level excellence, proper band maintenance keeps your equipment ready for peak performance when it matters most. The few minutes spent on proper installation and the modest cost of quality replacement bands provide returns far beyond their investment.
Remember: in slingshot shooting, consistency is everything. Fresh, properly installed bands eliminate one of the largest variables in your shooting system, allowing you to focus on technique, accuracy, and the pure enjoyment of this challenging and rewarding sport.
For shooters looking to optimize their complete practice setup, proper band maintenance works hand-in-hand with quality target systems and consistent practice routines. When every component of your equipment performs reliably, every practice session contributes to your long-term shooting development.
Your slingshot is only as good as its weakest component—don’t let worn bands be the limiting factor in your shooting journey.
Safety Disclaimer: Slingshot shooting carries inherent risks. Always wear appropriate eye protection, ensure clear backstops, verify local regulations, and never shoot at inappropriate targets. The information in this guide is for educational purposes and doesn’t replace proper training or safety instruction.

Claire Quinn is a technology reviewer and parent who has spent three years testing portable entertainment solutions for families. With over 25,000 miles of road trip experience and extensive outdoor activity participation, she provides practical, real-world testing insights for busy families. She regularly collaborates with other parent reviewers and maintains active involvement in family travel and technology communities.
Disclosure: This article contains affiliate links to products I personally use and recommend. When you purchase through these links, I may earn a small commission at no additional cost to you. All recommendations are based on my genuine experience and testing—I only recommend products I actually use in my own home.